
VR sells at a higher price than flat, and it is unforgiving. Three mistakes cannot be fixed after the shoot — wrong format, wrong camera height, and never having watched your own footage in a headset. Everything else on this page is detail. Those three are the page.
1. The format we accept
VR180, side-by-side, left eye on the left. That is the only format that goes on sale here, and it is what every consumer VR camera produces by default.
Your file should be roughly twice as wide as it is tall — 5760×2880, 7680×3840 and similar. That is the two square eye images next to each other.
We do not accept 360°, over-under, or fisheye files. Not because they are bad, but because a file that plays in the wrong projection does not throw an error — it just looks wrong, and the buyer blames you.
2. Camera height and horizon — the mistake that cannot be fixed
In VR the camera is the viewer’s head. If the camera is at the wrong height, the viewer feels like a child or a giant for the whole clip, and no amount of editing repairs it.
- Standing scene: 1.60 m. Measure the lens, not the tripod.
- Sitting or kneeling scene: 1.20 m.
- The horizon must be dead level. A tilt you would not notice in a flat clip becomes nausea in a headset. Use the tripod’s bubble or the camera’s level.
- Do not move the camera during a take. Panning and handheld are fine flat and awful in VR. If you want a new angle, cut and reposition.
3. Distance
The sweet spot is 40 cm to 1.5 m from the lens.
- Closer than ~30 cm the two eyes cannot fuse the image and it hurts to look at.
- Beyond ~2 m the depth flattens out and you have thrown away the reason to shoot VR.
- Eye contact with the lens is the strongest thing you have in this format. It does not exist in flat video. Use it.
4. Light, sound, and shoot order
- Light from behind the camera, not behind the performer. VR cameras have small sensors and a backlit scene turns to noise.
- Nothing directly behind the camera that you do not want on screen: 180° is wider than it sounds, and lights, bags and phones end up in frame.
- Sound matters more than in flat video because the viewer feels present. A cheap mic near the scene beats the camera’s own.
- Shoot clean first, dirty second. You can always get dirtier; you cannot get clean again without stopping to wash the camera and the set. Plan the order before you start.
5. Uploading — the one step people get wrong


Tick “This is a VR clip” BEFORE you upload the file.
This is not a label. Your file is encoded for headsets the moment the upload finishes, minutes before you ever press Submit. If the box is not ticked at upload time, the file is encoded as a flat video — and there is nothing in the result that says so. It simply plays wrong in a headset.
If that happens, the fix is to upload the file again with the box ticked. Ticking it afterwards on an already-encoded file does not convert it.
In the bulk uploader the same rule applies: switch These files are VR on before you drop the files. Each queued row shows a VR chip, and you can click a row’s chip to change that one file while it is still waiting.
When VR is on, the VR category is added automatically and cannot be removed. That is deliberate: buyers filter by it, and a VR clip that is not in the category is a clip nobody with a headset will find.
6. The trailer is your VR teaser — and it is required
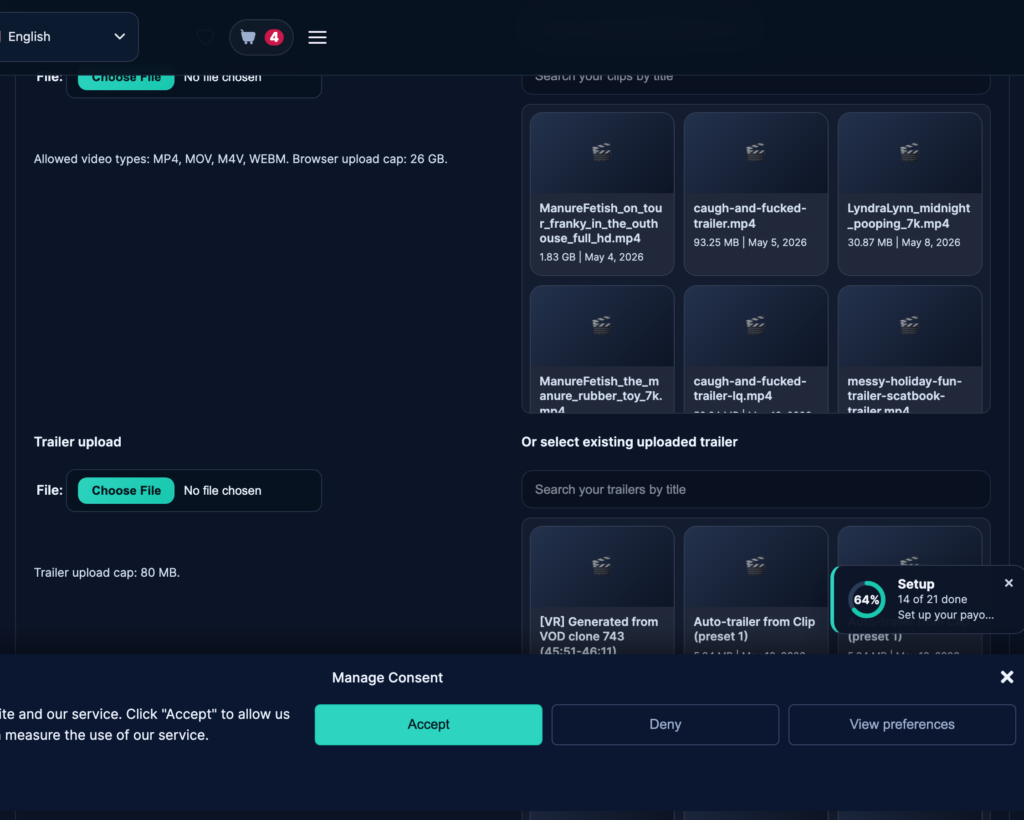
A VR clip cannot go to review without a trailer, and the trailer is automatically treated as the free VR teaser: it gets the same VR encoding and the same in-headset button.
This is the single biggest thing you control for conversion. A buyer who has watched fifteen seconds of your work in their own headset is a different buyer from one looking at a thumbnail. Make the teaser something you would want to see.
Keep it short — fifteen to thirty seconds — and shoot it at the same height and distance as the clip, so it is an honest sample.
7. What NOT to put on the picture
Never burn a logo, watermark, text or overlay onto a VR frame. A side-by-side frame is two eyes next to each other. Anything drawn once lands in one eye only, and the viewer’s brain fights it for as long as it is on screen. It is one of the few things that makes people take the headset off.
The same goes for editing: no zooms, no speed ramps, no transitions that move the whole picture. VR rewards holding a good angle.
8. Resolution, and what it costs in time
Shoot the highest resolution your camera offers. VR spreads the picture across your whole field of view, so pixels that look generous in a flat clip look coarse in a headset. 6K is good. 8K is better.
Be aware that VR takes far longer to process than flat video. A 20-minute 8K VR clip occupies a whole encoding machine for roughly an hour. Your clip is not stuck — it is a big job. Upload it well before you plan to publish it.
9. Watch your own clip in a headset before you publish
This is the third unfixable mistake, and the easiest to avoid. Everything above can look perfect on a monitor and be wrong in a headset: the height, the tilt, the distance, an unnoticed light behind the camera.
Once your clip is processed, open it in your headset the same way a buyer would — the free teaser is enough. Five minutes there will teach you more than this whole page.
10. How your VR clip appears to buyers
- An orange VR badge and a resolution badge (8K / 6K / 4K) on every card.
- A Format filter on the clips page so headset owners can find only VR.
- On the clip page: a VR180 / SBS / resolution chip row, the free flat preview, and Watch preview in VR.
- After purchase: Watch in VR in the buyer’s library, next to the normal flat player.
- On feeds, Discover and social posts your clip appears as ordinary flat video — we generate a single-eye version for that automatically, so nothing ever shows the doubled side-by-side image.
Your price, your commission and your payout are exactly the same as for a flat clip.